Sunday, October 23, 2016

Happy Halloween Layout

Do you have Trick or Treating memories? My children always enjoyed coming up with a theme, along with their cousins and putting together fun costumes!  Sometimes we dodged rain, sometimes snow, but most of the time it was just great fun crunching along the fallen leaves!  


Now I am blessed with grandchildren!  Although hundreds of miles away, my husband and I have been lucky enough to have been with them twice for Trick-or-Treating!  What a great Treat for us!

This simple, non-spooky scrapbook layout will soon be holding treasured memories of my young grandchildren Trick or Treating!  Since they are not into the scary themes (yet???), neither are my pages.  The White Daisy cards shown are for you to see how a variety of photos of differing sizes will fit.   

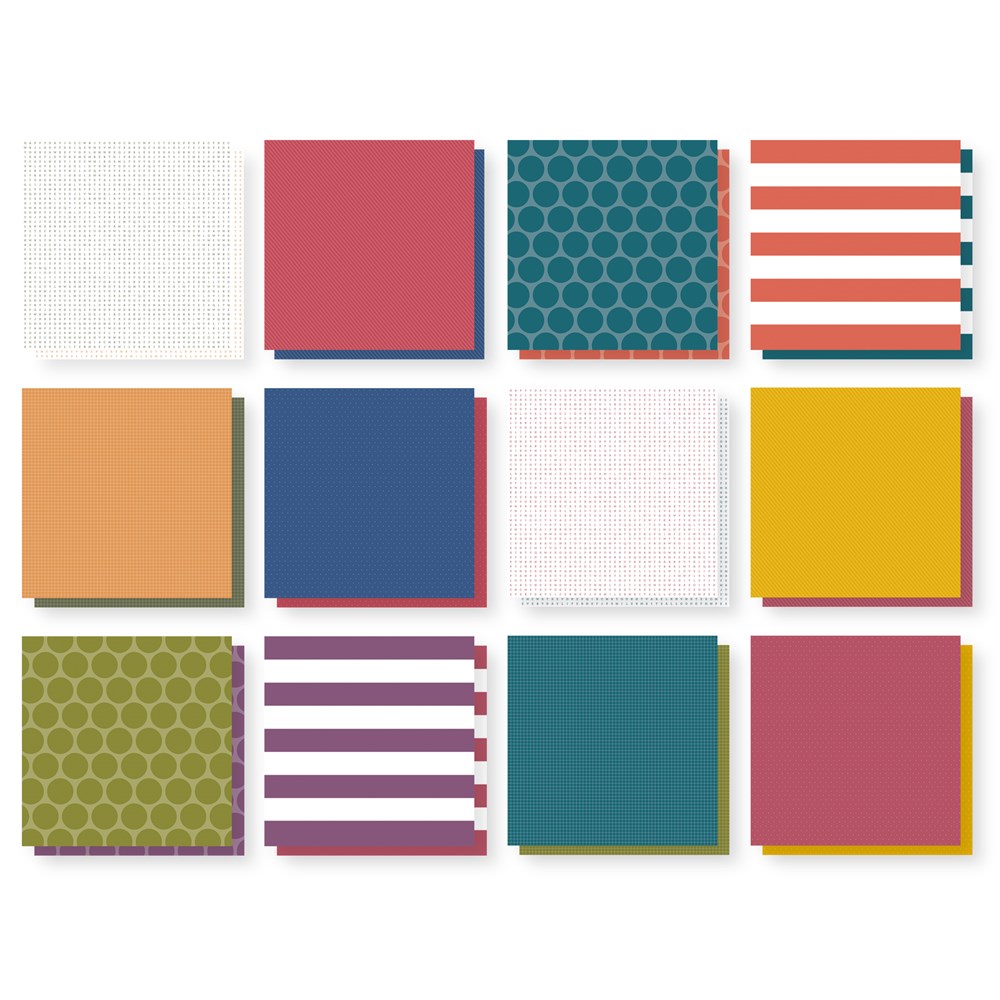
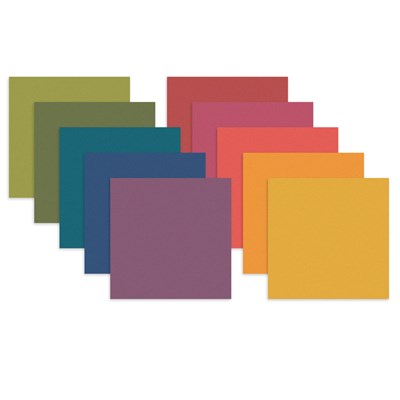
Paper shown in my design is from the new Enchantment Fundamentals line, as well as the Enchantment Cardstock Combo pack.  
papercraftingwithgayle.ctmh.com
Enchantment Cardstock
papercraftingwithgayle.ctmh.com
Enchantment Fundamentals

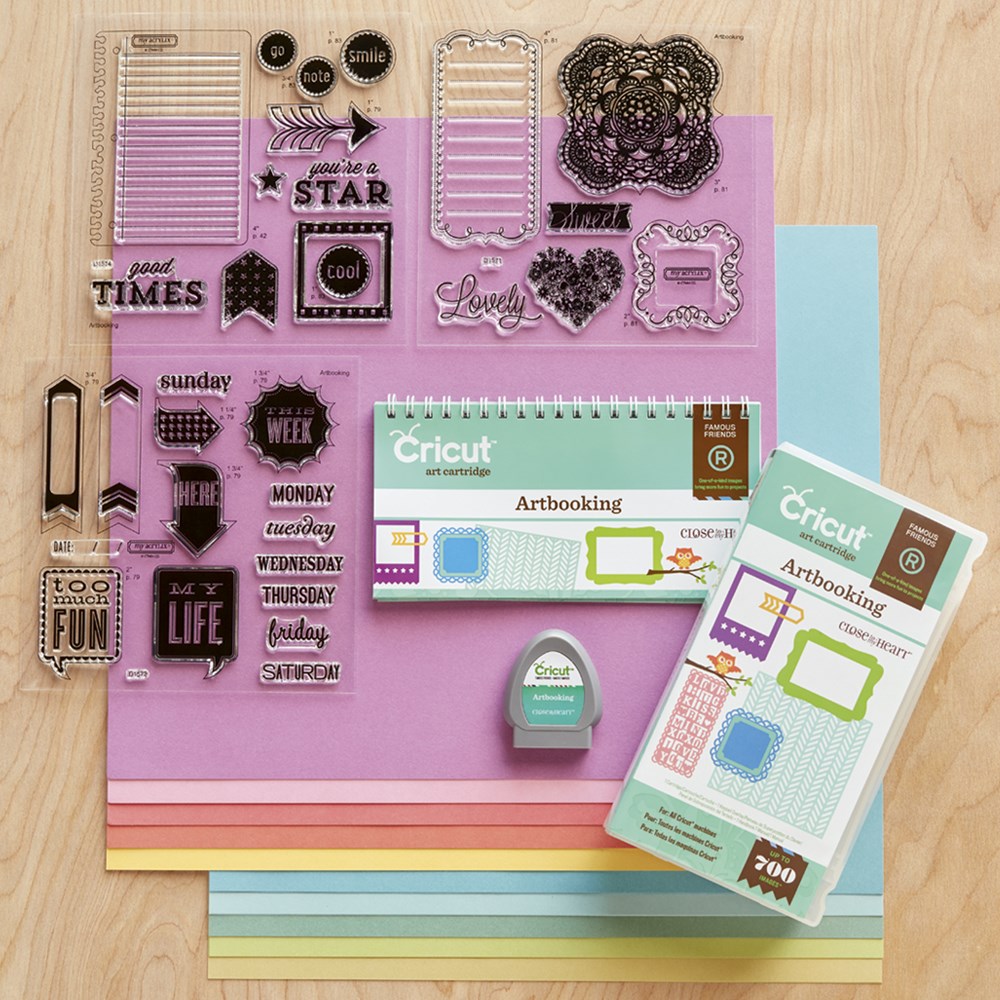
Shapes and frames shown are from my trusty work-horse Cricut Cartridge, Artbooking.  Of course, there is always at least just a hint of bling!  After I add the photos, odds are good that a few additional embellishments will be added here and there!  

Artbooking Cricut Cartridge Package

product image
Bling!
product image
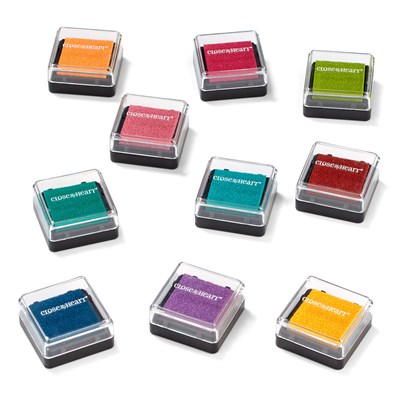
Pigment Inks

My wonderful Shimmer Brush was used over the Tangerine and New England Ivy pigment stamped leaves (Blessed Beyond Measure, sadly retired), to add a touch of sparkle!


 To assemble this layout, I used my Bonding Memories Glue Pen, Foam Tape, and my tape runner.  


Being someone who loves to snap pictures, especially of my family, I am planning on using additional Memory Protectors and my favorite, Flip Flaps, for photos I just have to keep and want to add!  (They come in an array of sizes and styles to fit your needs! The ones shown in this photo will most likely be the ones I use here.) 

Preserve your wonderful memories, along with me,  to enjoy now and for years and generations to come!  Enjoy!  Your family will appreciate this for generations to come!  Great joy and often, comfort, is truly found generations later!   

Thank you for visiting!  I love hearing from you and look forward to assisting you!  


As always, Happy Papercrafting!  Have a wonderful day!


Tuesday, October 18, 2016

2017 PLANNER PAGES HAVE ARRIVED!


papercraftingwithgayle.blogspot.com


Woo-hoo!  The new 2017 Planner Pages have arrived and are ready to ship!


The 2017 planner pages set includes monthly and weekly calendars, designs you can color, pages for notes, a clear pencil bag, and three gold paperclips. 


Insert your new pages into the Everyday Life™ Sea Glass album (Z4027) or the Everyday Life stripes album (Z9979).

Note--For users of the Franklin Covey system, although the Close to My Heart pages are a bit wider, they will fit into the Classic zip binder by punching the additional needed clasp holders! My Classic Franklin planner zips without issue with my Close to My Heart Planner pages!  I just love my Sea Glass album -- and use -- as an album!

Available while supplies last, so get it while you can!


Thank you for visiting!  
Have a wonderful day!


Monday, October 17, 2016

Halloween Village


This darling Halloween Village was created by artisans at Close To My Heart
Do you decorate your home for Halloween and the changes of the season? I've always enjoyed and look forward to doing this! 
As an Independent Consultant on behalf of Close To My Heart, I enjoy following Make It from Your Heart, (click on "What We Do" to follow Jeanette), the blog written by Jeanette Lynton, founder and CEO of Close To My Heart.  
When she presented this Halloween Village on her blog, I thought it was so clever and cute and wanted to make sure you saw it, before I finished mine! It's made with Cricut cuts! 
The following list of materials used and which Cricut cuts to make is directly from Jeanette's blog.    
Of course, when you are preparing yours, make it the way you want it!  Have fun!!!
Materials Used  

¾” Shift+Icon <I> (p. 55)
¾” Icon <i> (p. 55)
2″ Shift+Overlay <U> (p. 54)
1″ Shift+Icon <C> (p. 70)
½” Icon <c> (p. 70)
1″ Shift+Overlay <C> (p. 70)
¾” Shift+ Icon <V> (p. 71)
11 ½” Shift+Border <V> (p. 71)
2 ½” Border <v> (p. 71)
¾” and 1″ Icon <n> (p. 73)
¾” and 1″ Shift+Icon <N> (p. 73)
7″ Icon-1 <w> (p. 12)
7″ Shift+Icon-1 <W> (p. 12)
1 ½” Shape <k> (p. 28)
1 ½” Shape <Mother> (p. 39)
1″ Shape <Holiday> (p. 47)
8″ Red House
Thank you for visiting!
I look forward to and enjoy hearing from you!  
Have a wonderful day!  
Happy papercrafting!
Gayle Piron


Wednesday, October 12, 2016


Words of Wisdom Wednesday


Such a positive affirmation!  Have you experienced a rough time, and then someone you may not even know, offers an encouraging smile or a helping hand?  I know I have been on both sides of such a scenario, and firmly believe, that yes! Kindness changes everything!

If you'd like to add this sentiment to you own personal Words of Wisdom album, here is what I used to make this 4" x 4" page.  


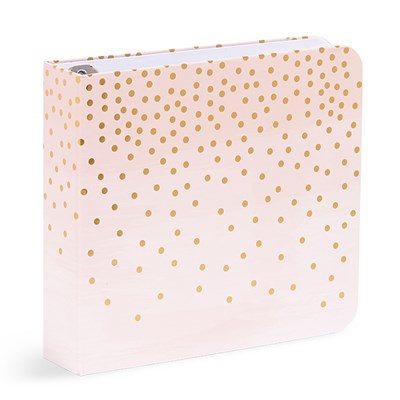
product imageMy little Words of Wisdom pages are kept in this cute Blush Instalife Album.

Thank you so much for visiting!  I look forward to hearing from you!  


Have a wonderful day!  
Happy Papercrafting!

All my best,
Gayle Piron


Friday, October 7, 2016

Tag Time!


product image


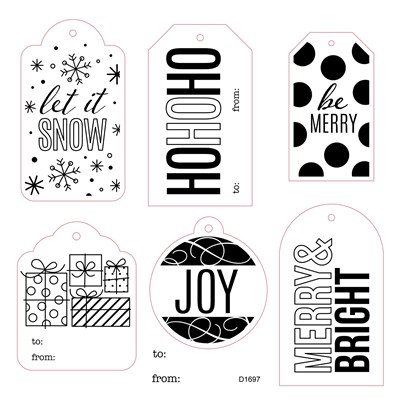
Autumn is upon us, and even though Halloween and Thanksgiving are just around the corner, I've decided to make some Christmas tags using the delightful "Perfect Presents" stamp set I recently purchased.


Along with the ever so necessary to: and from: stamps, this set has six additional tag sentiments that correspond perfectly with tag shapes you can cut using the Cricut Art Philosophy Cartridge.  


Although I love when the stamps correspond with a particular cartridge or die shape, no frets, if you don't have access to any!  You can easily cut rectangles or other shapes with a paper trimmer and/or fancy scissors, stamp your sentiments, punch a hole in the top for ribbon, and woo-hoo, you have a tag!  


Of course, this stamp set is not limited to tag making! Use the sentiments on cards, scrapbook pages, treat bags, etc.  Along with using these ideas, why not use them in your home decor?  Just hang them along a pretty twine or ribbon to make a fun holiday swag/banner over a window, picture frame, mantle, etc.  

Another fun idea, is to add corresponding elements to your tags.  Here, I've incorporated snowflakes cut from my new Flower Market Cricut Cartridge, into my Baker's Rack swag. 

Want a little sparkle, use the awesome Shimmer Brush!  Love this tool!


Don't you just love the versatility of the simple tag? What are some of your tag ideas?


Enjoy!  Thank you for visiting! 
I look forward to hearing from you!

Have a wonderful day!
Happy Papercrafting!

Gayle Piron
papercraftingwithgayle@gmail.com

Monday, October 3, 2016

"Grateful" Layout Tutorial


I love the papers available in the Swan Lake collection!  Here’s one of the pages I recently completed.  This layout will be the title page to a collection of 12 x 12 layout pages I am making focusing on my family, friends and little things in life of which I am grateful.  (I could fill volumes and volumes!)  I will be adding a 5" x 7" photo of my family--as soon as we can all get together!  If not, a photo of me with my wonderful husband will grace this title page, with the rest of the crew added on the following pages! 

Materials 


Preparation

Using Artbooking, p. 72, set cuts for 11".  (For those who may not be familiar with this work horse cartridge, unless you use the "Real Dial" size feature on your Cricut, all shapes will be cut according to your overall layout or paper size you set.  Love this feature!)

  1. Poppy  Cardstock -- cut  Title "grateful"  and Border leaves; apply Liquid Glass and/or Clear Shimmer Brush over these, as desired; let dry (doesn't take long).
  2. Swan Lake Black with Words, cut Photo Mat 1 for a 5" x 7" frame; attach photo.  
  3. Peacock Cardstock  with Lines and Dots, cut Border leaf swirl. 
  4. Swan Lake Peacock, white lines and dots, cut Border leaves. 

Using paper trimmer, cut Swan Lake Floral, black background 4" x 12" (you can keep Zip Strip attached of   and then measure and cut or, if Zip Strip already removed, you will want to keep and use)


Assembly

Using tape runner:
  1. attach Swan Lake floral paper to bottom of White Daisy cardstock base
  2. attach coordinating Zip Strip above Swan Lake floral paper.
Using foam tape:
  1. attach the title "grateful" to lower right of page
  2. attach leaf swirl to White Daisy as shown
  3. attach photo frame [with your photo]
  4. attach leaves and mini hearts (from inside of border leaves) as desired 
Enjoy!  Thank you for visiting! 
I look forward to hearing from you!

Have a wonderful day!
Happy Papercrafting!

Gayle Piron

papercraftingwithgayle@gmail.com

Saturday, October 1, 2016

Welcome October !

During the month of October, Close To My Heart is offering two limited time specials.


 Yuletide Joy
October Stamp of the Month


Stamps


http://papercraftingwithgayle.closetomyheart.com/ctmh/promotions/sotm/2016/1610-yuletide-joy.aspx

With the chill in the air, October is a perfect time to get into the upcoming holiday spirit!  Let's get a jump on Christmas cards and tags, and maybe even layouts that will be ready for you to just add your photos after Christmas.  This set will help you with all of those needs.  I'll be sharing artwork throughout the month with this set, so be sure to check back for ideas.  
This set is only available in October, and is only $5 ($12.95 savings) with every $50 you order (before shipping and tax). Spend $100, get 2...and so on.  When ordering on my websiteyou'll be prompted to add your set(s) before checking out.


REAL REWARDS

Use Your Hostess Rewards to Sign Up as a Consultant!

Are You Ready to Earn Real Rewards?
papercraftingwithgayle.ctmh.com

We love rewarding our Hostesses, and our Hostess Rewards program is one of the most generous programs out there. During the month of October, in addition to earning free and discounted products, Hostesses have another fantastic option for using their Hostess Rewards credit: applying it toward a New Consultant Kit! It’s the perfect time for hosting your own Close To My Heart Gathering—it could open the door to a rewarding new opportunity!

Contents of the New Consultant Kit include:

  • Medium Organizer
  • 2" × 6 ½" My Acrylix® Block 
  • 1" × 3 ½" My Acrylix® Block
  • 2" × 2" My Acrylix® Block
  • Non-stick Micro-tip Scissors 
  • My Acrylix® Stamp Scrubber
  • My Acrylix® Spritz Cleaner 
  • Bonding Memories™ Glue 
  • 3-D Foam Tape 
  • Round Sponge
  •  A Little Love—Petite Perks Incentive Stamp Set

along with these business supplies:


  • Customer Order Forms (1 pack of 25)
  • Annual Inspirations Idea Book (qty. 5)
  • Holiday Expressions Idea Book (qty. 5)
  • Cardstock Sampler 
  • Fundamentals Sampler
  • Holiday Expressions B&T Duos™ Sampler
  • Gathering Invitations (1 pack of 25)
  • Desk Pad 


Products listed represent the contents of New Consultant Kits ordered between August 1 – December 31, 2016. Some products may not be shown.  Contents are subject to change without notice, and change regularly based on product and collateral availability. 

Check out the rewards you can earn as a Close To My Heart Hostess, and then contact me to book your party right away!
Offer valid October 1 – October 31, 2016. New Consultant Kit requires separate application to purchase. Normal shipping/handling & tax apply to purchase of New Consultant Kit.

Thank you so much for visiting!  I look forward to hearing from you!  Have a wonderful day!


Happy Papercrafting!

Gayle Piron